Are you looking to make glass gem marble letter magnets but don’t know how? Maybe you are looking for a craft to make gifts with but don’t know where to start?
Or are you curious and want to know more? No matter the reason that brought you here, we have the answers for you!
Finding out how to make glass gem marble letter magnets can be tricky, especially if you have never done it before! The craft can be overwhelming as you try to master it.
So you head online for some guidance. But you are met with conflicting advice that leaves you frustrated, unsure who to trust or where to turn. You wonder if you will ever know how to make glass gem marble letter magnets.
Well, no more! Today, we are here with the answers you need. Keep reading for a step-by-step guide that shows you how to make glass gem marble letter magnets.
We have plenty of tips and tricks that will make the whole process a breeze! So let’s get started!
What Are Glass Gem Marble Letter Magnets?
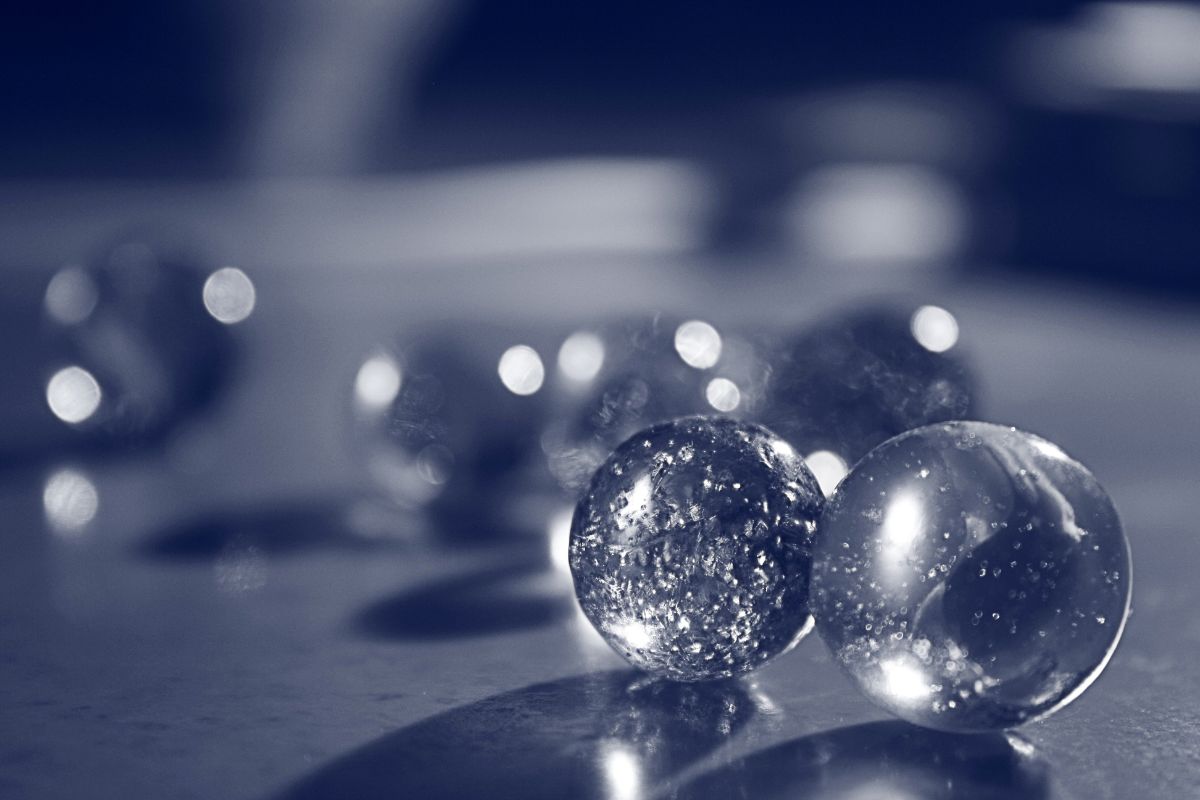
Let’s have a quick recap for those that need it before diving in. Glass gem marble letter magnets are small magnets with a letter of the alphabet in them.
They are encased in a clear glass with a marble background.
The letter magnets are not only great to use as a gift for someone, but are wonderful for your own home too!
They can be placed on your refrigerator or other magnetic surfaces to store important documents or notes. Or you can use them with your children.
The magnets can help your children learn the letters of the alphabet and even practice words! It is a fun way for them to learn without any extra pressure. Plus, they can look fantastic on your refrigerator!
They are fun for all the family, so let’s take a look at how you can make them yourself!
How To Make Glass Gem Marble Letter Magnets
Let’s get into what you came here for! Below we have a step-by-step guide that will help you create your own magnets. You can check this out below and a list of all the supplies that you need!
Supplies
To make the glass gem marble letter magnets, you will need the following:
- Clear glass gems
- A set of letters, numbers, and punctuation marks
- Glue
- Hot glue gun
- Small magnets
- Cardboard circles
All of these supplies can be found at your local craft or scrapbooking store. They won’t be too expensive to purchase and will usually come in large packs, ensuring there are plenty for you to do the entire alphabet!
You don’t need to make numbers or punctuation mark magnets if you don’t want to. We added them as they pair with the letters nicely and allowed for more words and sentences to be created.
We recommend getting more than one set of letters too. Otherwise it will be tricky to make words with just one of every letter in the alphabet! Two or three sets should be plenty, although you can add more if you wish.
Once you have the supplies, you can start making the magnets!
Step 1 – Prepare Your Magnets
To start, you will want to do your preparation work. Cut out all the letters, numbers, and punctuation marks into little circles and empty out enough clear gems for all of them.
Make sure you have your glue gun heated up and your magnets and cardboard ready to go!
Step 2 – Assemble Your Letters

Next, take each letter and glue it to a piece of cardboard. If your letters are already backed onto cardboard you won’t need to do this. Ensure that the glue dries fully before moving on.
You don’t need to use an expensive glue or glue gun for this, they should stick quite well.
Step 3 – Add The Gems
Once the letters and cardboard are dry, it is time to add the clear gem! This can be a little fiddly, so be sure to take your time here.
Take the hot glue gun and apply some glue around the outer edge of the cardboard circle. Take the flat side of the gem and secure the two together.
Repeat this until all the gems have been secured to the letters, numbers, and punctuation. You will need to leave these to dry fully before moving on.
Check with your glue to see how long your glue takes to dry. We left ours to sit for 24 hours.
Step 4 – Add Your Magnets
To finish, you will want to add your magnets to the back of the cardboard piece. Again, use your glue gun to do this. Take the backs of your cardboard piece and add some glue before pressing the magnet firmly into place.
Hold the magnet in place for a few seconds before placing it down to dry. Repeat the process until all of your magnets have been attached.
Leave them to dry again. You should leave them for the same time you did the gems. We left ours for 24 hours again.
Once they are dry, your magnets are ready to go! They can be attached to your refrigerator or other magnetic space and used problem free!
Final Thoughts
And there you have it, four easy steps that will help you make your glass gem marble letter magnets! You can use marble cardboard backing or any color or pattern you choose, allowing you to create letters that suit your taste.
Whether you want to use them in other crafts, on your refrigerator, or to help your child learn their alphabet or numbers, this is a wonderful craft!
The letters will stand the test of time and provide your child with hours of fun and entertainment. Make sure that you leave the glue to dry completely before you use them and you are sure to be fine!

In an effort to get them to avoid excessive screen time ( and arguing! ) I turned to more creative avenues that we have all since grown to love.
I created this website in the hopes of inspiring more families out there to enjoy crafting and enjoy a shared bonding experience over it.
Please enjoy it and hopefully, you’ll find something to make that you can display proudly forever!
- Master Crochet Stitches for Cozy Creations - January 23, 2024
- Half Double Crochet Guide for Cozy Creations - January 23, 2024
- Elevate Your Space with Unique Macrame Creations - January 23, 2024
