Felt pumpkins are a super fun and easy craft that the whole family can get involved in. There are so many ways to make this craft unique or to change things up depending on the space that you are working with.
Best of all, felt pumpkin faces can be made and remade almost endlessly without the need for messy glue or lots of resources.
You can also turn this into a fun game for adults too that is perfect for holiday gatherings. In this article, we will give you a beginner’s guide (see also “Apple Stamping: Beginner’s Guide“) to making felt pumpkin faces.
Materials
For this craft, you will only need a couple of materials which makes it a super cost-effective craft that can keep your kids entertained over and over again.
You will need some scissors that are sharp enough to cleanly cut the felt into your desired shape. If you have very little ones you will need to do the cutting yourself.
You will also need some felt in various colors. You will need a significant amount of orange felt, depending on how many small pumpkins you are making or if you want to make a large pumpkin for the wall.
You will also need some black felt to create a jack-o-lantern face.
If you want to get a bit more creative or allow your kids more freedom, you can also add some different colored felts so that your kids can add hair and other details to their pumpkins. The main color you need is orange, the rest is up to you.
Method
Once you have gathered your few materials, you are ready to get started. Depending on the age and attention span of your children, it is possible for them to help from the very beginning of this craft (see also “Summer Carnival: Beginners Craft Guide“).
If you have really young children, it is better to prepare the craft until step four when your little ones can safely get involved.
Step 1: Choose Your Size
The first important step in making felt pumpkin faces is deciding on the size you are going to make. Some people enjoy making large pumpkin faces that can be stuck to the wall so your kid can make different faces in their playroom.
Other people like to make smaller pumpkins so that each child can make their own pumpkin face while sitting around a table. Whichever size you choose, the steps are the same.
Step 2: Create The Pumpkins
Whether you are going for a big wall pumpkin or a smaller table top pumpkin, you will need to cut them out.
Lay out your orange felt onto a flat surface. Depending on the size of your felt and your pumpkin, you might have to do this on the floor.
Once your felt is laid out flat, use a pencil or a crayon to draw the outline of your pumpkin.
It is possible to cut your pumpkin freestyle but having an outline helps to avoid mistakes that can be hard to rectify. We don’t want to waste a lot of fabric.
The pumpkin that you draw doesn’t have to be super detailed and you don’t have to be an artist to do this step as the details will be added with the other pieces of felt.
You can opt to add a stalk to your pumpkin now, or you can create a smaller piece of felt when you are making the face pieces that can be stuck on or removed when your kids want.
Now, all you need to do is cut around your outline to create your pumpkin. Scissors work just fine for this, although it could be easier with an A-Acto blade if you are confident using one.
Step 3: Create The Face Pieces
Once you have made your pumpkin, it is time to move onto the face pieces.
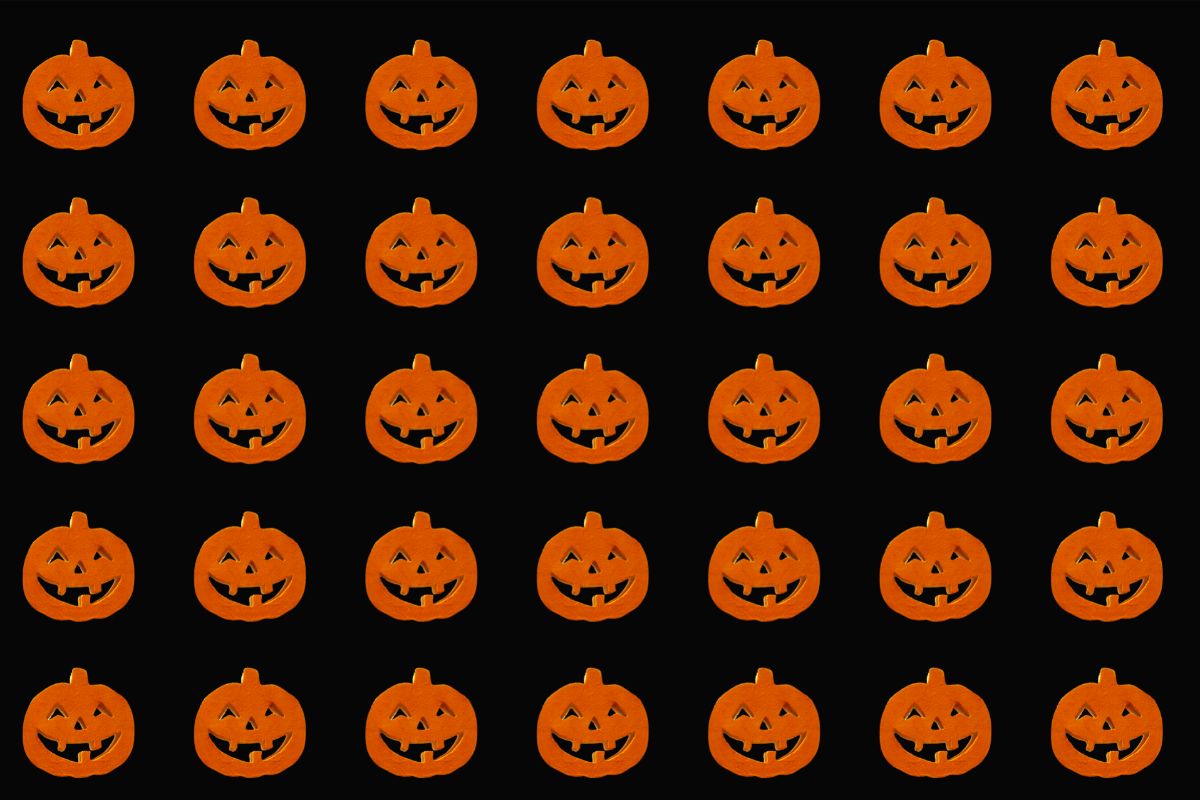
If you are sticking to traditional, black, jack-o-lantern faces for your pumpkins this step will be easy. Simply take your black felt and draw some basic pumpkin features with a pencil.
The most common shapes are triangles for the eyes and nose, squares for the eyes and nose, and various mouth shapes. The mouths can have lots of teeth, no teeth, square teeth, or pointy teeth. The only limit is your imagination.
If you are opting for silly pumpkin faces, you can use your colored felts to cut out hair, hats, mustaches, glasses, and so on. This will be a little more time consuming but can make the craft more fun.
You can also cut out extra face pieces at a later time to freshen up this activity for your kids.
Once you have drawn your outlines, it is time to cut them out. Again, scissors work just fine for this as long as they are sharp enough for the felt, but an X-Acto can also be used to make it quicker.
Step 4: Create Your Felt Pumpkin Faces
Finally, the step where you little ones can get involved. There is no more need for scissors or blades so it is completely child safe.
If you have made a big wall pumpkin it is time to attach it to the wall with some sticky tape or Fun-Tac. For smaller pumpkins, simply call your kids to a table and let them get creative with the felt face pieces that you made.
Top Tips
One of the best top tips for making these felt pumpkin faces applies if you want to keep using these things time and time again.
To make sure your pumpkins stay in tip top condition, you can glue a cardboard backing onto them to help them keep their shape and not become crumpled.
This is also a useful tip for wall pumpkins. You should also keep all your face pieces in a baggie that can be taped to the back of the pumpkin for safe keeping.
Final Thoughts
This is a super fun and creative craft that can really get you and your kids into the fall spirit.
Not only is this a great way to keep your kids entertained during school breaks, but adults also enjoy making different faces so you can bring them out at the next family gathering.

In an effort to get them to avoid excessive screen time ( and arguing! ) I turned to more creative avenues that we have all since grown to love.
I created this website in the hopes of inspiring more families out there to enjoy crafting and enjoy a shared bonding experience over it.
Please enjoy it and hopefully, you’ll find something to make that you can display proudly forever!
- Master Crochet Stitches for Cozy Creations - January 23, 2024
- Half Double Crochet Guide for Cozy Creations - January 23, 2024
- Elevate Your Space with Unique Macrame Creations - January 23, 2024
