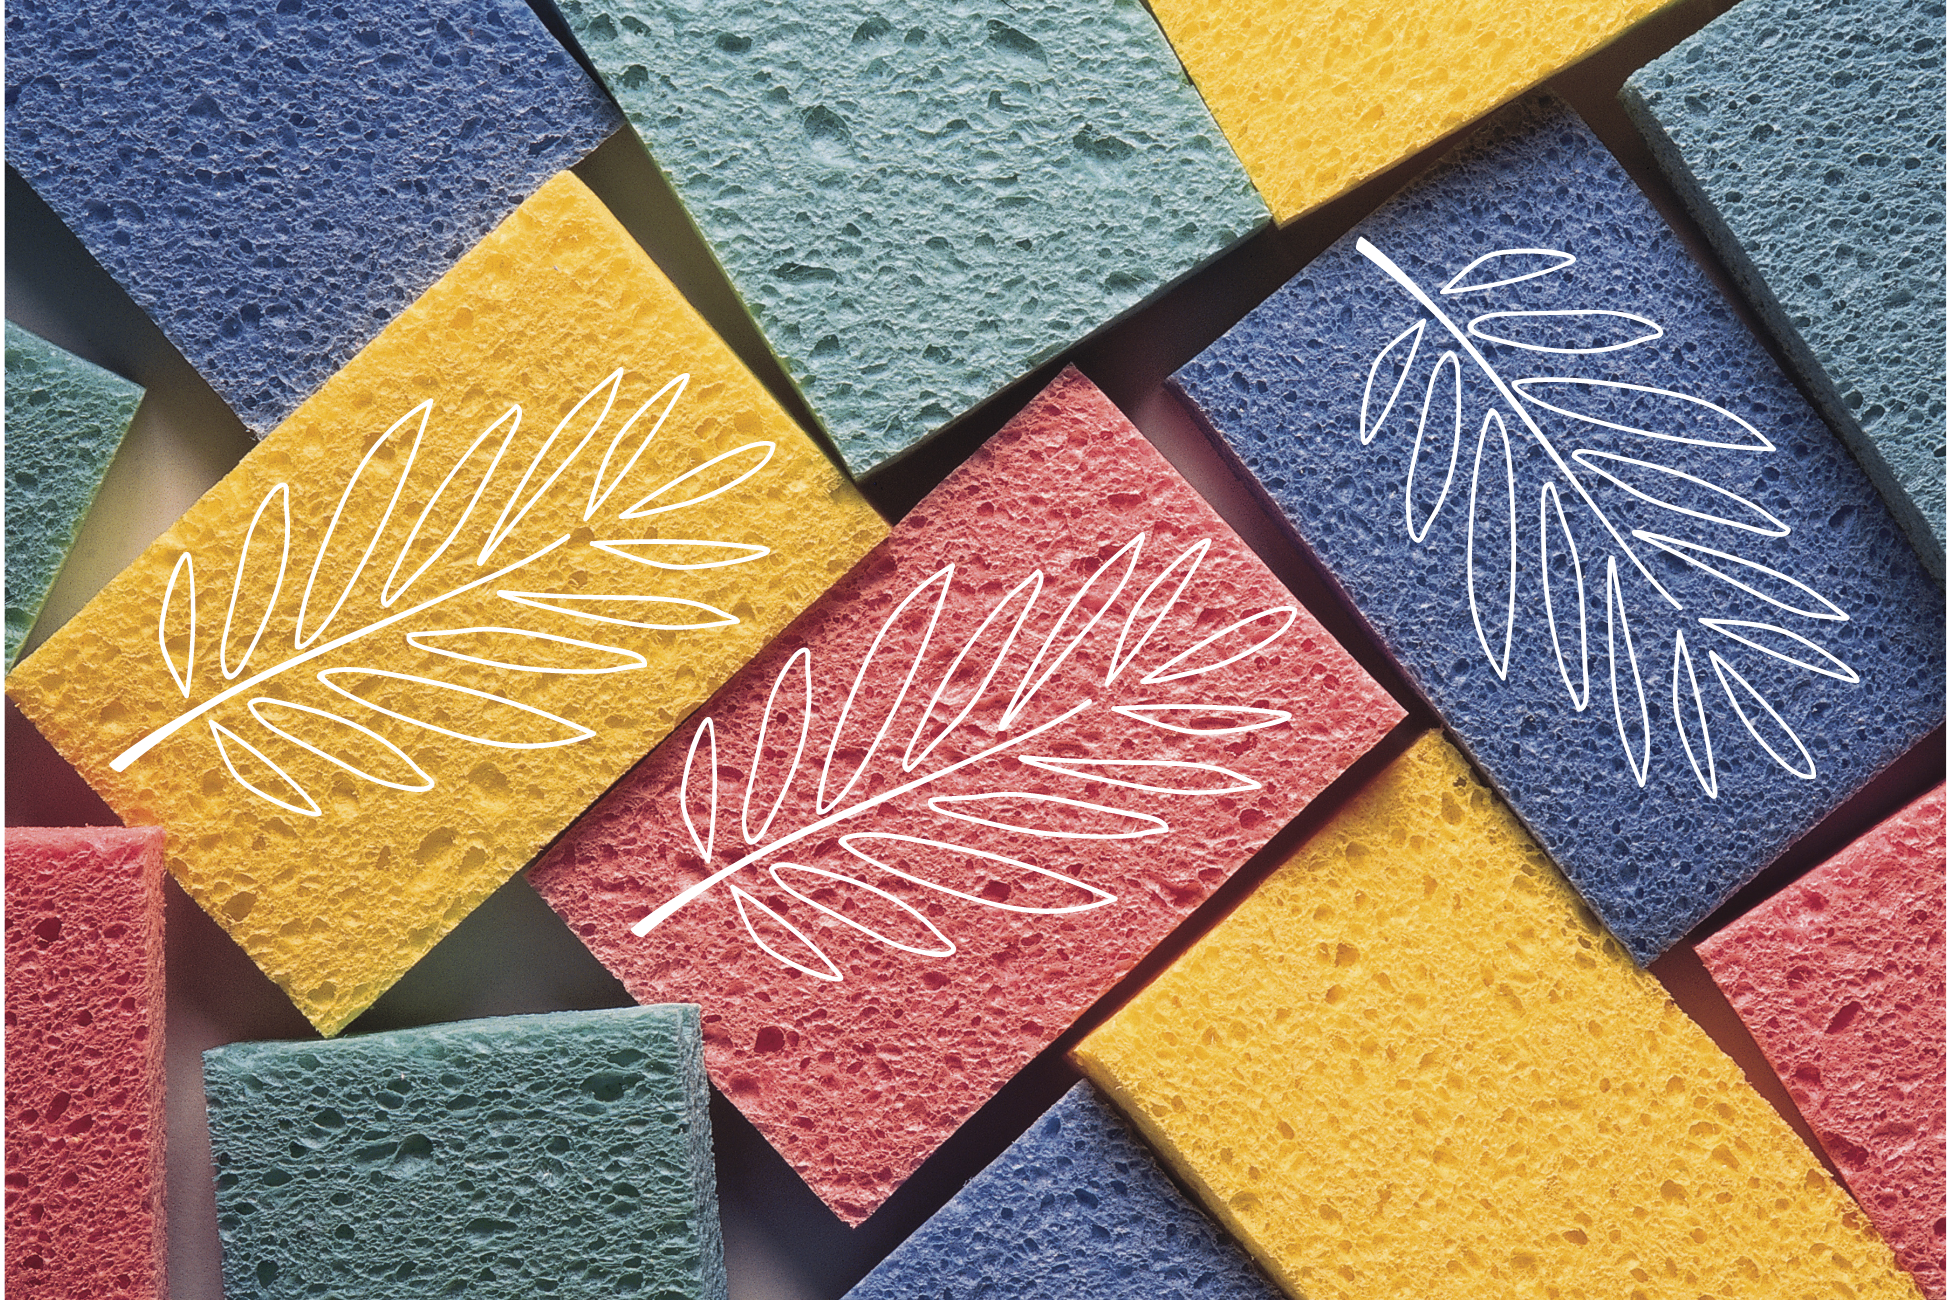
These pretty little leaves are so simple to make and they look stunning when they’re scattered decoratively throughout your home.

It can be a great opportunity to get crafty with the children or if you are bored yourself and feel like painting some leaves. It can be a fun activity and won’t require you to go out and buy lots of supplies.
This guide will cover the different materials you will need to do this activity and the steps you need to take to make the best painted, sponge leaves.
Materials Needed
You will not need a wide range of supplies to carry out this simple activity. You will most likely have them all away in your cupboards somewhere!
- Scissors – you need to make sure you have a good pair of scissors because it can be difficult at times to cut through the sponges. This is also the part that the adults should be doing and not the children as it can be a dangerous hazard.
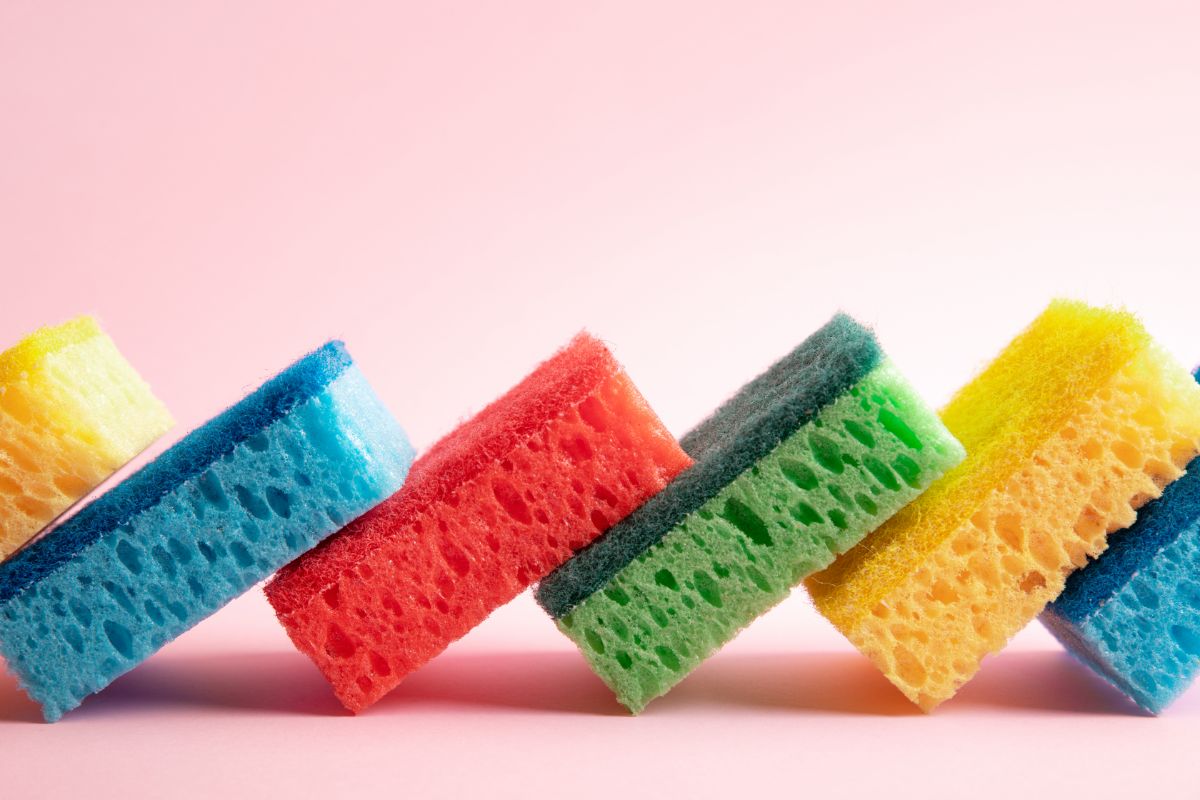
- Sponges – you want to make sure you are getting the best sponges for the job. They will be the ones that do not have any scrubbers on them. This is because they will be much easier to cut. Depending on how many children there are taking part, you might want to get a few sponges so you can take advantage of different colors and not have to mix all of the colors.
- Acrylic paint – choose whichever colors make you happy!
- Sharpie marker – you will be using this to mark out the template on the sponge before you cut around it. It will help you get a better idea of a good shape.
- Cardstock – you will need this for the base for where the children will be stamping their leaves on.
- Paper plates – you will also need an area for the children to stamp into the paint first.
- Leaf template – You can find this online, or go outside and choose one to copy straight from nature!
Steps To Make Sponge Painted Leaves:
- The first step you need to complete is making your own leaf templates. You can either make them yourself at home, or print some online. You can then draw around your leaf shape on your sponge with your sharpie marker.
- Now use your strong scissors to put the shape of the leaf out of the sponge. You do not have to use a template for any of this if you can create a good leaf shape. You can easily draw them on free-hand for some extra fun.
- Remember that it should only be the adults that are handling the sharp scissors to make sure no accidents happen.
- You need to make sure the shape is cut out before going back on them with finer details. It can be difficult the first time to cut out the leaf perfectly because the sponge can be difficult to get through. Once it is cut out, you can go back around your shape and make it perfect.
- Now it is time to have fun with it. You can use all different colors, mixing and matching them, or keeping them all the same colors of each sponge. You can make a variety of different leaves out of sponges trying to get as many out of the sponges as you can. This will allow you to use lots of different colors for different sponges.
3D Dimension
It can also be quite fun to add a bit of dimension to the works of art. You can use fabric, puffy paint to create details in your leaves for the stems and veins.
You can let this dry and it will be the perfect addition to the leaf pieces and gives the children more to play with.
This is an extra fun part of the activity where it doesn’t need to end. You can also add other little details to make them unique to you and your children. You can add sparkles and gems to your leaves to make them pretty or other decorations.
Reusable

The best part about this fun activity is that you can do it again and again. You can just wash the sponges and start again with different colors. You can even cut and reshape them into something else if you want stars or letters. The list is endless.
This is a very cheap activity which will keep the children quiet for a while and get them being creative and imaginative.
It can get a little bit messy, so always remember to be putting down lots of coverings everywhere in our home, or opt to do it outside.
Any type of activity with paint and children involved can sometimes be a bit of a mess. However, by the end of the activity you will have some wonderful leaf paintings to show off and put around the home and on the fridge.
Conclusion
Overall, this is a very simple activity that anyone can put on for their children to either keep them busy or get them creative in their downtime.
You find that many children nowadays are obsessed with their technology and have lost touch with the love of crafts and playing.
This is a great way to get them stuck into something fun and exciting where they can create something you can keep.
Hopefully, this guide has produced simple and effective steps and supplies you need to make this activity happen. It is all very easy and straightforward, but you can always switch it up and create different shapes.
You don’t just need to stick to leaves. You could move on to the sky with stars, a moon, and other shapes your children will love.
Make sure you’re careful with the mess this type of activity can cause with children as paint can be a difficult one to control!
- Master Crochet Stitches for Cozy Creations - January 23, 2024
- Half Double Crochet Guide for Cozy Creations - January 23, 2024
- Elevate Your Space with Unique Macrame Creations - January 23, 2024

