Learning to sew is a great life skill and one often overlooked. As clothing has become more and more accessible, there is less of a need to mend and make our clothes. We can simply visit a store and find a replacement or a new outfit for a reasonable price.
That being said, sewing is a great creative outlet. It also provides you with a number of useful skills that are still helpful in today’s society such as altering hemlines and taking in clothes that don’t fit correctly.
There are many affordable sewing machines on the market today which makes it a more accessible piece of machinery to own.
This also means that many more people are taking up this as a crafting hobby. Are you new to sewing and want to learn how it all works?
In this article, learn how to wind and insert a bobbin into a traditional Singer sewing machine with our step-by-step guide.
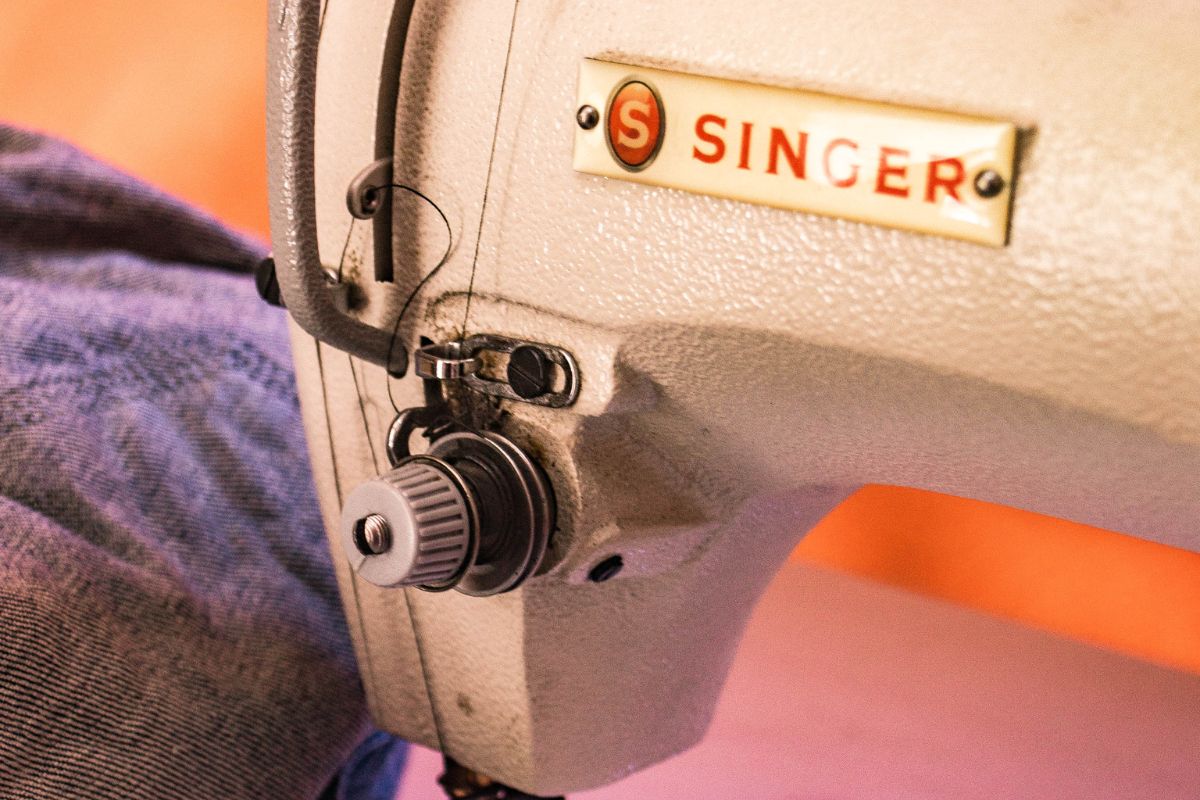
Traditional Singer Sewing Machines
Singer is one of the most if not the most well-known brand of sewing machines in the world. Although they didn’t invent the sewing machine, Isaac Singer and Edward Clark established the company in 1851 in Boston, Massachusetts.
The basis of their idea was to invent an affordable sewing machine that the general public could use in their homes. Their sewing machine was patented as the first practical and efficient sewing machine on the market.
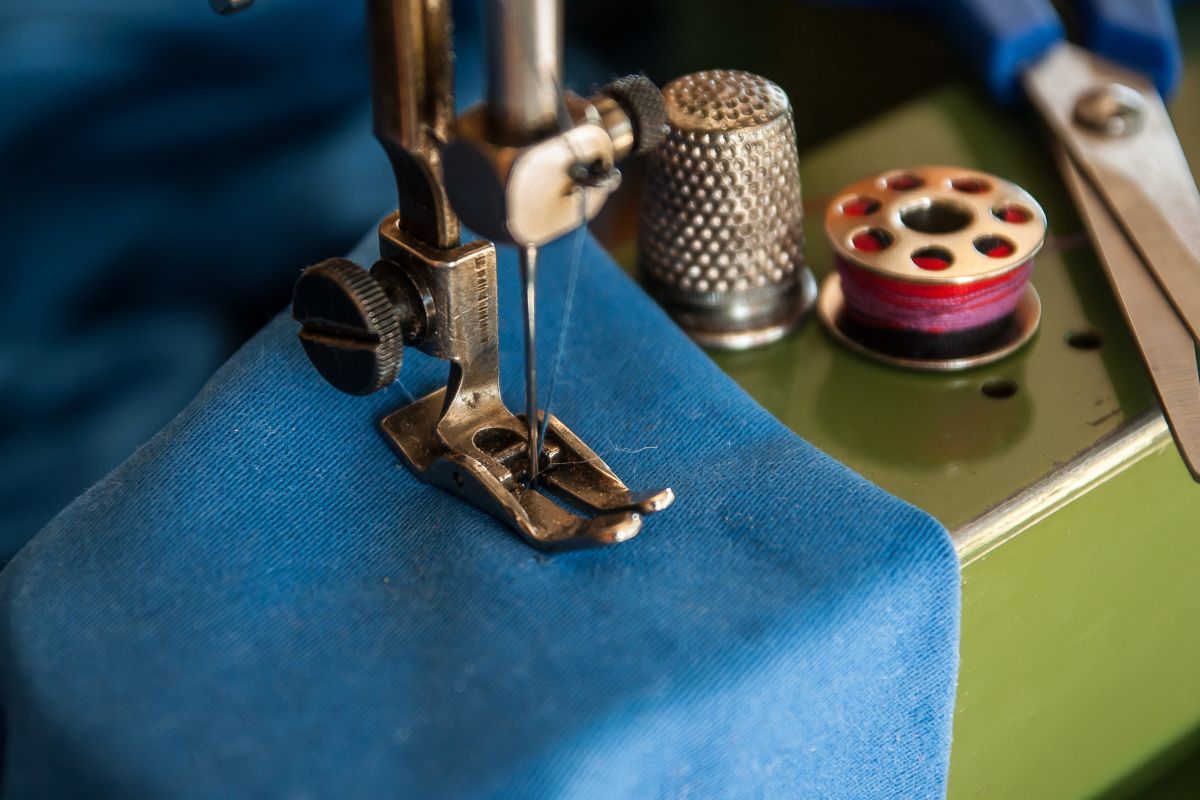
What Is A Bobbin?
A bobbin is a small cylindrical or cone-shaped piece of plastic or metal that is used to hold
The bobbin is placed in the lower part of the sewing machine, this is where the bottom thread catches with the top thread from the needle to make a stitch.
How To Wind A Bobbin
In order to wind a bobbin, you’ll need a few things to get you started:
- Spool of thread
- Empty bobbin reel
- Sewing machine
Any spool of thread can be used for the purposes of winding a bobbin, but we recommend using the color that you are hoping to use in your sewing as this ensures both threads are matching.
A good quality spool of thread can be found in any good craft store or online.
Brands such as Gutermann, Mettler, Coats & Clark Inc., and Singer all produce great quality thread that will improve the quality and durability of your sewing.
There are different types of thread, but for basic sewing cotton, polyester, or a blend will work just fine.
Step One
Take your spool of thread and place it on the spool pin; on a Singer sewing machine, this will be horizontal. Other sewing machines may have a vertical spool pin but this won’t make too much of a difference.
Step Two
Locate the beginning of the thread and pull it away from the spool a little so you have it handy. This is an important thing to keep reminding yourself throughout the process.
Step Three
Put the spool cap on the end of the spool pin, using the appropriate side depending on how big your spool of thread is. The cap should be placed as close as possible to keep the thread secure and give the machine an even feed.
Step Four
Take the beginning of the thread and guide it through the upper thread guide of the machine, this is the small metal part to the left of the spool cap.
Step Five
Continue to pull the thread and guide it counterclockwise through the tension discs, you’ll find an idea of how to do this with the small graphic depicted on the top of the sewing machine. This is labeled ‘1’.
Step Six
To thread the bobbin, guide the thread through the hole in the top of the reel (see also “The Ultimate Guide To Wire-Wrapping Stones Without Holes“). Be careful to go through only one of the holes and keep a firm grip on the thread as to keep it in place. Dropping a thread can be extremely frustrating and fiddly.
Step Seven
On the right-hand side of the spool, you’ll find the bobbin winder. Place the bobbin on the winder, this may be a little stiff so using slight pressure is fine. Make sure you’re holding on to the end of the thread whilst doing this.
Step Eight
The bobbin winder doesn’t automatically work, you need to push the entire winder to the right to engage it. If you don’t do this, the machine will think you’re still using the needle and nothing will happen to the bobbin.
Step Nine
Whilst holding on to the end of the thread in the bobbin, gently press the sewing machine pedal to get the process going. This will start to turn the bobbin and the thread from the spoon will start to wind around it.
For best results, keep hold of the end of the thread the entire time. You can start to speed up the pedal if you feel comfortable and fill up the bobbin with enough thread.
Step Ten
It’s important to wind the bobbin as fully as possible to ensure it is wound evenly, the machine will start to slow down or stop to indicate that the bobbin is full.
You’ll notice a small plastic disc next to the winder, this prevents the bobbin from becoming too large.
Step Eleven
Push the full bobbin back to its original position. Remove the bobbin from the winder and use a pair of scissors to cut the thread, releasing the bobbin from the main spool of thread.
Depending on how long the piece of thread you were holding on to when the bobbin was winding, this may require a small trim.
That’s the bobbin wound! Now it’s ready to put into the machine.
Inserting The Bobbin Into The Machine

Depending on the type of machine you have, the bobbin case may be laid out differently.
Here we are talking about a classic Singer sewing machine that has what is called a ‘front-load bobbin’. This means that the bobbin fits into a metal case at the front of the machine.
Alternatively some sewing machines may have a ‘drop-in bobbin’ which means the bobbin is dropping to the arm of the machine and is accessed by a removable plate in front of the foot.
Once the bobbin is threaded, the plate can be attached and sewing can begin.
Step One
The bobbin case is located in the bottom of the machine. To open it, remove the extension table and open the little door at the front. When you open the case, you’ll see a lot of metal casing inside.
Step Two
Removing the bobbin case is done with a simple lift of a switch. There will be a small metal tab on the front of the bobbin case which pulls out, opening it up.
Step Three
Place the bobbin in the bobbin case so that the thread will be rotating clockwise.
This means that the tail of the thread should be hanging to the right side of the bobbin. Here, pull around a six-inch tail of thread from the bobbin to allow you to start it off.
Step Four
Pull the tail of the thread through the slot on the bobbin case. Pulling the thread forward, it should hook under the little metal plate. This step is how you thread the bobbin case.
Step Five
Once the thread is hooked under the metal plate, you should be able to see the thread is between both metal arms of the bobbin case under the little screw.
Step Six
Hold your bobbin case with the small metal lever facing the ceiling and turn the case so the small opening is looking at you. A tail of thread should be hanging out from this little gap and down to the right of the case.
Step Seven
Pull up the lever of the bobbin case to place the bobbin case back in the machine. When you do this, line up the metal lever of the bobbin case with the notch at the top of the holder in the machine.
This is fairly self-explanatory as you replace it the way you removed it.
Step Eight
Close the door and re-attach the extension table and you will be ready to start.
Finishing Off The Threading
Now the bobbin is in the case and in the machine, it’s time to thread it to actually make a stitch. Hopefully, you’ll already have the top of the machine threaded and ready to go. This will make things a lot easier.
Step One
Take the tail end of the thread from the top of the machine and pull it out with your left hand so there is slight tension on the thread.
Step Two
Turn the hand wheel slowly counterclockwise to lower the needle of the sewing machine. Keep doing this until the needle has gone down and up again. This should loop the bottom and top thread together.
Step Three
Once you’ve made a full turn of the needle and brought it back up to the highest point you should be able to see this loop clearly under the foot of the needle. Grab the bobbin thread and pull it all the way out.
Step Four
Here you’ll be able to pull out both threads together. Hold them in your left hand and you can begin sewing!
How To Fix Issues With Your Bobbin
Although we try to take as much care as possible when threading the sewing machine, things can go wrong. If you find that your thread bunching up whilst you go along your fabric, this is a sign there is an issue with the bobbin.
When a bobbin is incorrectly threaded or not wound properly, it can lead to these problems. If this happens, stop sewing and remove your work from the machine. Check your threads are in the right places and there is a loop between the top and bottom threads.
Here is a little reminder you can come back to:
- Thread snapping = bobbin hasn’t been wound evenly
- Thread bunching = bottom thread hasn’t caught the top thread
Once these checks have been made and you are still having issues with your bobbin, this could indicate that there is trouble with the sewing machine itself.
Basic Sewing Machine Maintenance
Referring to the sewing machine manual and checking the machine for any maintenance issues could be a way to resolve this. Always turn off your machine before you carry out any of these checks or fiddle with your bobbin.
- Remove any lint from the machine – by removing the needle and foot, you can lower the feed dog to remove the stitch plate. A small clean paintbrush or make-up brush can be used to dust off any lint or debris that may be trapped here.
- Replace the needles regularly – the average lifespan of a needle is between 6-10 hours depending on the thickness of the fabric. Changing your needle with every new project is a great way to keep your machine in good working order.
- Wipe down the machine after each use – this reduces the build up of loose threads, debris, or dirt.
- Oil your machine regularly – oiling your machine will keep it running smoothly and the mechanisms in working order. Only ever use sewing machine oil that is suitable for your machine. Always follow your machine’s manual to do this properly.
Top Tip: Never use compressed air cans to remove the debris as these could actually force the debris further into your machine rather than getting it out.
Sewing Machine Best Practices
For those that are relatively new to the sewing scene or are just looking to brush up on some skills, we’ve made a list of hand tips and tricks to make things flow a lot more smoothly.
- Turn off the machine when you’re threading – always make sure the sewing machine is turned off when you are threading any part of it to avoid hurting yourself and accidentally setting it off.
- Always keep a hold of the thread tails – as we’ve mentioned above, it’s important to keep a hold of the thread tails when you start sewing as they will be a little loose when you make the first few stitches causing them to get tangled in the mechanism.
- Practice on scrap fabric – when you’re new to sewing it’s important to practice on scrap fabric to get the hang of things and avoid ruining nice fabric. Learn how to make different stitches, turn and how to start and finish your work properly.
- Always start with the needle down in the fabric – by turning the hand wheel you can get the needle to pierce through the fabric and then put down the presser foot. This way your fabric and stitching will start off well and be as stable as possible.
- Iron your fabrics before using – ironing your fabrics will make them as flat as possible which is easier to feed under the foot of the sewing machine.
Simple Sewing Ideas For Beginners
Now you have all the information you need to thread your machine, keep it working properly, and how to get going you might want some simple ideas on what to actually sew!
Here we’ve got some ideas that are perfect for beginners.
- A simple cushion cover or pillow case
- A simple tote bag
- A drawstring bag
- A hair scrunchie
- Easy sunglasses case
- Easy corner bookmark
Remember to take your time and keep calm if things go wrong. No one is perfect as soon as they start out and there’s bound to be a few hiccups along the way!
The Bottom Line
It may take you a few attempts to get the hang of winding and threading a bobbin, but once you do you’ll find it no trouble at all. The bobbin is an important part of a sewing machine and learning how to use it is vital to your success.
Happy sewing!
Frequently Asked Questions
Can You Wind A Bobbin By Hand?
Technically, yes you can wind a bobbin by hand but there is no need if you have a sewing machine. The process is extremely slow and time consuming.
This also means it’s impossible to get an evenly wound bobbin, which will ultimately impact your sewing.
How Do I Know If My Bobbin Tension Is Correct?
A simple way to test if the tension is right is to try sewing in a scrap piece of fabric.
When the tension is too loose, the bobbin thread will show on the top of the fabric. If the bobbin tension is too tight the fabric may bunch up or the thread may break.
What Should The Bobbin Tension Be Set At?
The right bobbin tension should be set somewhere between 180 to 220 grams, most sewing machines will come with factory-set tension which doesn’t really need to be adjusted for basic sewing.
Grams is the format used to represent tension on sewing machines.

In an effort to get them to avoid excessive screen time ( and arguing! ) I turned to more creative avenues that we have all since grown to love.
I created this website in the hopes of inspiring more families out there to enjoy crafting and enjoy a shared bonding experience over it.
Please enjoy it and hopefully, you’ll find something to make that you can display proudly forever!
- Master Crochet Stitches for Cozy Creations - January 23, 2024
- Half Double Crochet Guide for Cozy Creations - January 23, 2024
- Elevate Your Space with Unique Macrame Creations - January 23, 2024
