One of the most fun crafts that you can make around fall time or for the holiday season is autumn placemats.
These can be a fun and simple craft that you can make with the little ones in your family, or you can opt for a slightly more difficult placemat that requires a little more skill.
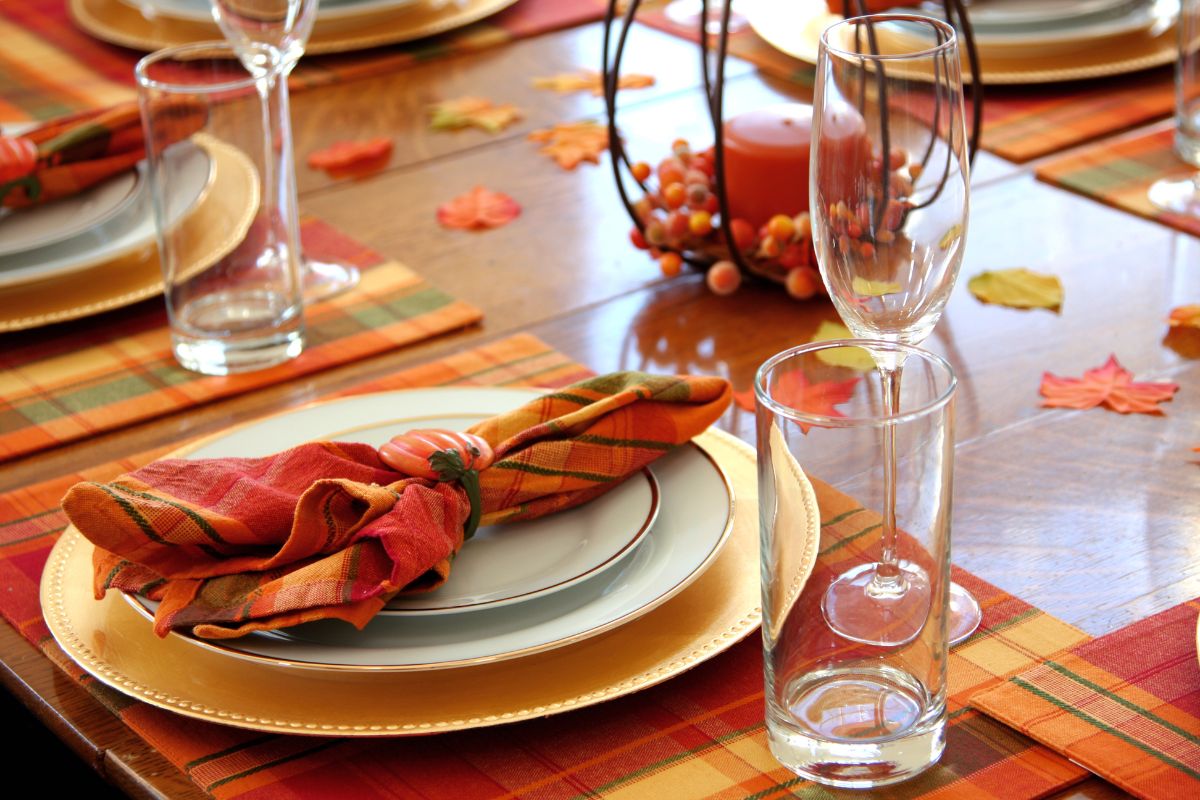
These can be a beautiful addition to your Thanksgiving table or your Christmas table that can be super fun and you can even personalize the placemats for all the people that are going to be sitting around your table.
In this article, we will look at some ways in which you can make autumn placemats.
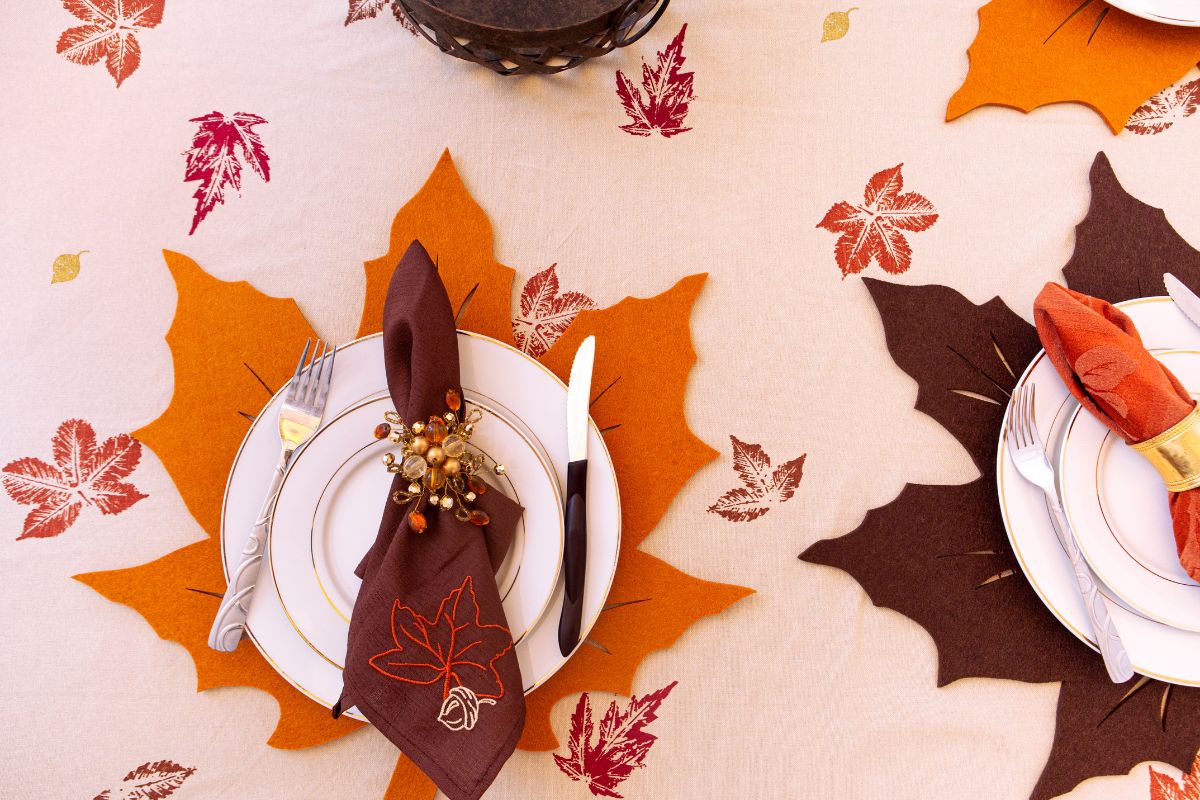
Potato Print DIY Autumn Placemats
A fun way to make autumn placemats is with the potato print method. This is a great option to do with the whole family and allow everyone to make their own design and get really creative.
Materials Needed
For this placemat design, you will need a handful of materials, some of which you will probably already have in your home.
The first things that you need for this method are potatoes and a paring knife. These will be used to make the stamps for the prints. Cutting the stamps should strictly be done by the adults, not the kids.
You will also need some acrylic or fabric paints in some fun colors. You can go for bright colors or stick to a fall pallet of oranges, reds, and yellows.
You will also need some paint brushes, Iron-on-vinyl, an iron and a pressing cloth, bias tape, and fabric. For these placemats, you can use linen or cotton for this.
You will also need a top layer and base layer of fabric to make these placemats durable. Most of these materials can be purchased at most craft stores.
Method
The first step of making this placemat is to make the potato stamps. Begin by cutting the potato in half with the paring knife.
Carefully trace the outline of leaves on the flat surface of the potato then cut away the sections of the potato around the leaf outline. You can get creative with the types of leaf you make.
Once you have made your stamps, it is time to start decorating the fabric, lay the top layer of fabric on a flat surface. You can tape it in place with painters tape to keep it in place.
Apply your different paints to the stamps that you made and press them onto the fabric. You can add as many stamps as you like to the placemats.
Let the fabric dry completely before moving onto this step to ensure the paint doesn’t smudge. Covering the placemats with vinyl is an optional step, but it will make them more durable and easier to clean if food is spilled on them.
Cut clear vinyl to fit the size of the placemats and follow the instructions on the packaging to iron it onto the placemat. Remember to use a press cloth to shield the vinyl from the surface of your iron.
Once you have applied the vinyl, it is time to stack your layers. Lay the printed fabric on top of your backing layer. Make sure that they are lined up properly and stitch them together.
It is best to pin the layers in place to ensure a straight and neat stitch. Make sure to keep the stitching as close to the edge as possible so that the binding will hide it.
The final step for these autumn placemats is to attach the bias tape to bind the edges together. The role of this tape is to give the placemats a more professional look and to protect the stitching from wear and tear.
Open the bias tape and pin it in place along one of the long edges of the placemat. Stitch the tape to the front of the placemat then fold the excess over and stitch it to the back.
The stitching on the back should be done by hand using a slip stitch to ensure that they don’t show on the front. Repeat this process for the other long edge and then the two shorter edges as well.
Now you will have a beautiful set of autumn placemats that you can bring out for every holiday gathering or use as a fun gift idea.
Fall Leaves Wax Paper Placemats
If you are looking for a much easier and quicker way to create a fun placemat with your small children, these fall leaves wax paper placemats would be perfect. Best of all, your children can help at almost every step.
Materials
This is a super easy placemat craft so you only need a handful of materials. You will need a roll of wax paper that you can get from Walmart, an iron, and some beautiful fall leaves that you have collected from nature.
You can make this craft for under $4 if you already own an iron.
Method
The step in making these beautiful placemats is to go leaf collecting with your family. It is best to do this when it is dry outside and the leaves will be nice and crisp.
If you go when the weather has been wet, the leaves will be soggy and won’t have enough structural integrity.
Once you have your leaves it is time to get creative. Cut pieces of wax paper to the desired size, you will need two pieces per placemat.
Arrange your leaves on one piece of paper until you are happy with the design then place the second piece of paper on top. For the best results, let each placemat rest under a heavy book overnight.
Place a cotton shirt or a piece of muslin cloth over the paper and press it with your iron. This will seal the two pieces together. Be sure to pay extra attention to the corners and edges.
You can always trim the placemat once it is sealed if necessary.
Final Thoughts
These are two super fun ways to make autumn placemats that the whole family can get involved with. These make a fun addition to your home decor or work well as great holiday gifts.

In an effort to get them to avoid excessive screen time ( and arguing! ) I turned to more creative avenues that we have all since grown to love.
I created this website in the hopes of inspiring more families out there to enjoy crafting and enjoy a shared bonding experience over it.
Please enjoy it and hopefully, you’ll find something to make that you can display proudly forever!
- Master Crochet Stitches for Cozy Creations - January 23, 2024
- Half Double Crochet Guide for Cozy Creations - January 23, 2024
- Elevate Your Space with Unique Macrame Creations - January 23, 2024
