Make wind chimes with beads using only a few simple materials. Making wind chimes is the perfect project for anyone looking for a fun, crafty project to carry out themselves or with their children.
These wind chimes are simple and delightful, and they’re a joy to make. Use the instructions here to make beautiful, no-nonsense wind chimes that are sure to bring beauty to your life in no time.
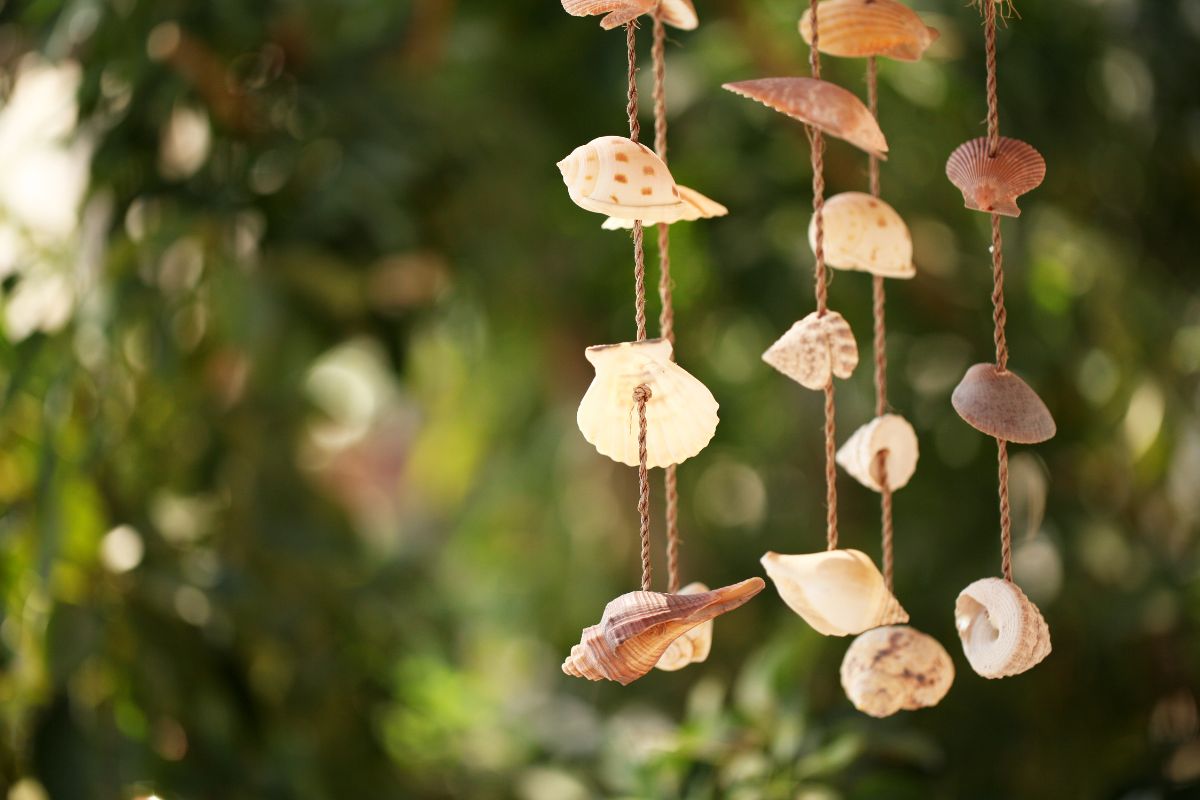
This guide will be taking you through some super easy steps to create your own, homemade wind chimes and bring them to life. You can customize them and make them your own after creating the main structure.
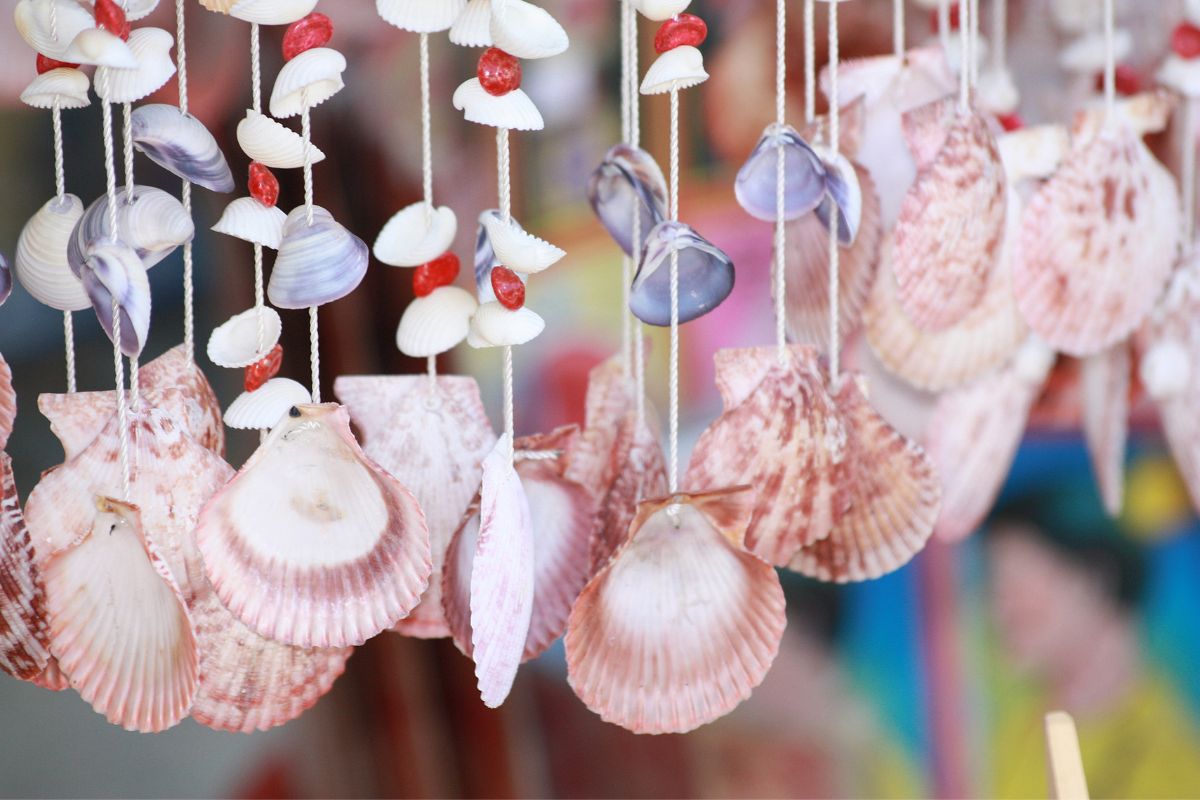
The decorating is always the most fun part! You can turn them into anything you want and make them look really beautiful in your homes.
Supplies
- Large and medium-sized beads – these will dangle on your wind chime.
- Paper cup or yogurt cup – the cup will be the main base where everything will hang.
- Drinking straws
- String
- 4 or more jingle bells (¾” or 1″)
- Metal shank button or metal washer
- Poster paint or acrylic paint – for decorations and personalization purposes.
- Paintbrush
- Pipe cleaner – extra decorations to make your wind chime colorful and creative.
- Scissors
- Hole punch
Making a wind chime is a very straightforward process, but it has a few steps that can be slightly fiddly.
There will not be too many steps to follow and only a few materials to make your project which makes it far easier to complete. Here are the basic steps.
Step-By-Step Guide
- First, you will need to find an old paper cup or something you can substitute for that in your home. The cup will be the main base for the top of your wind chime. Clean out the top of the cup and make sure it is completely dry before cutting.
- Then you can move on to cutting the cup. It should have a length of only 2-3 inches.
- You can move on to making holes that are evenly separated along the outside of the cup. These holes should be made at the bottom of the cup where the top part is not covered.
- If you have a glossy cup material, you will need to use acrylic paint for this part. You can choose whatever color you wish to decorate the outside of your base and cover it completely.
- Let this completely dry before you start anything else.
- When you paint your cup, you can also use different outlines and patterns to make it look pretty and unique.
- Now it is time to cut the string which will hang from your cup. You will need to cut 4 12-inch strings all the same length. Cut more if you choose to have more holes in your cup. If you have a larger cup, you need to make more holes to have more chimes. You will also need to cut one extra piece of string which is about 2 inches longer than the others.
- It is now time to add your jingle bells to the ends of each string. You won’t be using the extra piece of string yet, so set it aside for later use.
- You can now start cutting your straws into small 1-inch pieces.
- This is the fun part where you can start decorating your dangling chimes. You will slide your straw pieces and beads along your pieces of string until you have about 2 inches left at the top for tying.
- When everything is dry, you can now attach the strings to the cups through the holes you made previously.
- Get your pipe cleaner and cut it in half. Take one of these pieces and make a small loop at the end of it.
- Now grab your extra piece of string which will be used as the hanging tool. You will attach the loop on one end and the metal washer on the other.
- You will be making a hole in the top of the cup in the middle, feeding the pipe cleaner through the top, and having a loop at the top for a handle.
- Everything should now be placed together and you can hang your wind chime in a nice breeze in a place you can hear it. You need to make sure the washer can hit the bells in the wind to make that noise. Therefore, check the length to make sure it is long enough.
Tips To Remember
- You need to make sure you are cutting all of the pieces of string the same size, except for your longer piece by 2 inches.
- You need to make sure the handle will hold up properly and will not fall out of the hole. Therefore, don’t puncture the cup too wide as it won’t be able to hold the pipe cleaner.
- Always remember to make sure that anything wet is dry before you start putting holes into it. The reason for this is that the cup will be too soggy to put holes through when the paint is wet. You need to wait for it to harden first. You can always get on with making the wind chime parts while you wait.
Conclusion
Overall this is the perfect project for anyone who wants to make their wind chimes on a budget. You only need supplies that are pretty easy to find. You will have most of them in your home already.
Hopefully, this guide has given you an easy step-by-step guide and is understood well by adults and children.
It is a great crafts project for anyone with their children because it enables them to be more imaginative and make their version that they can keep for themselves as well.

In an effort to get them to avoid excessive screen time ( and arguing! ) I turned to more creative avenues that we have all since grown to love.
I created this website in the hopes of inspiring more families out there to enjoy crafting and enjoy a shared bonding experience over it.
Please enjoy it and hopefully, you’ll find something to make that you can display proudly forever!
- Master Crochet Stitches for Cozy Creations - January 23, 2024
- Half Double Crochet Guide for Cozy Creations - January 23, 2024
- Elevate Your Space with Unique Macrame Creations - January 23, 2024
